# Introducing GitHub’s Agentic Workflows
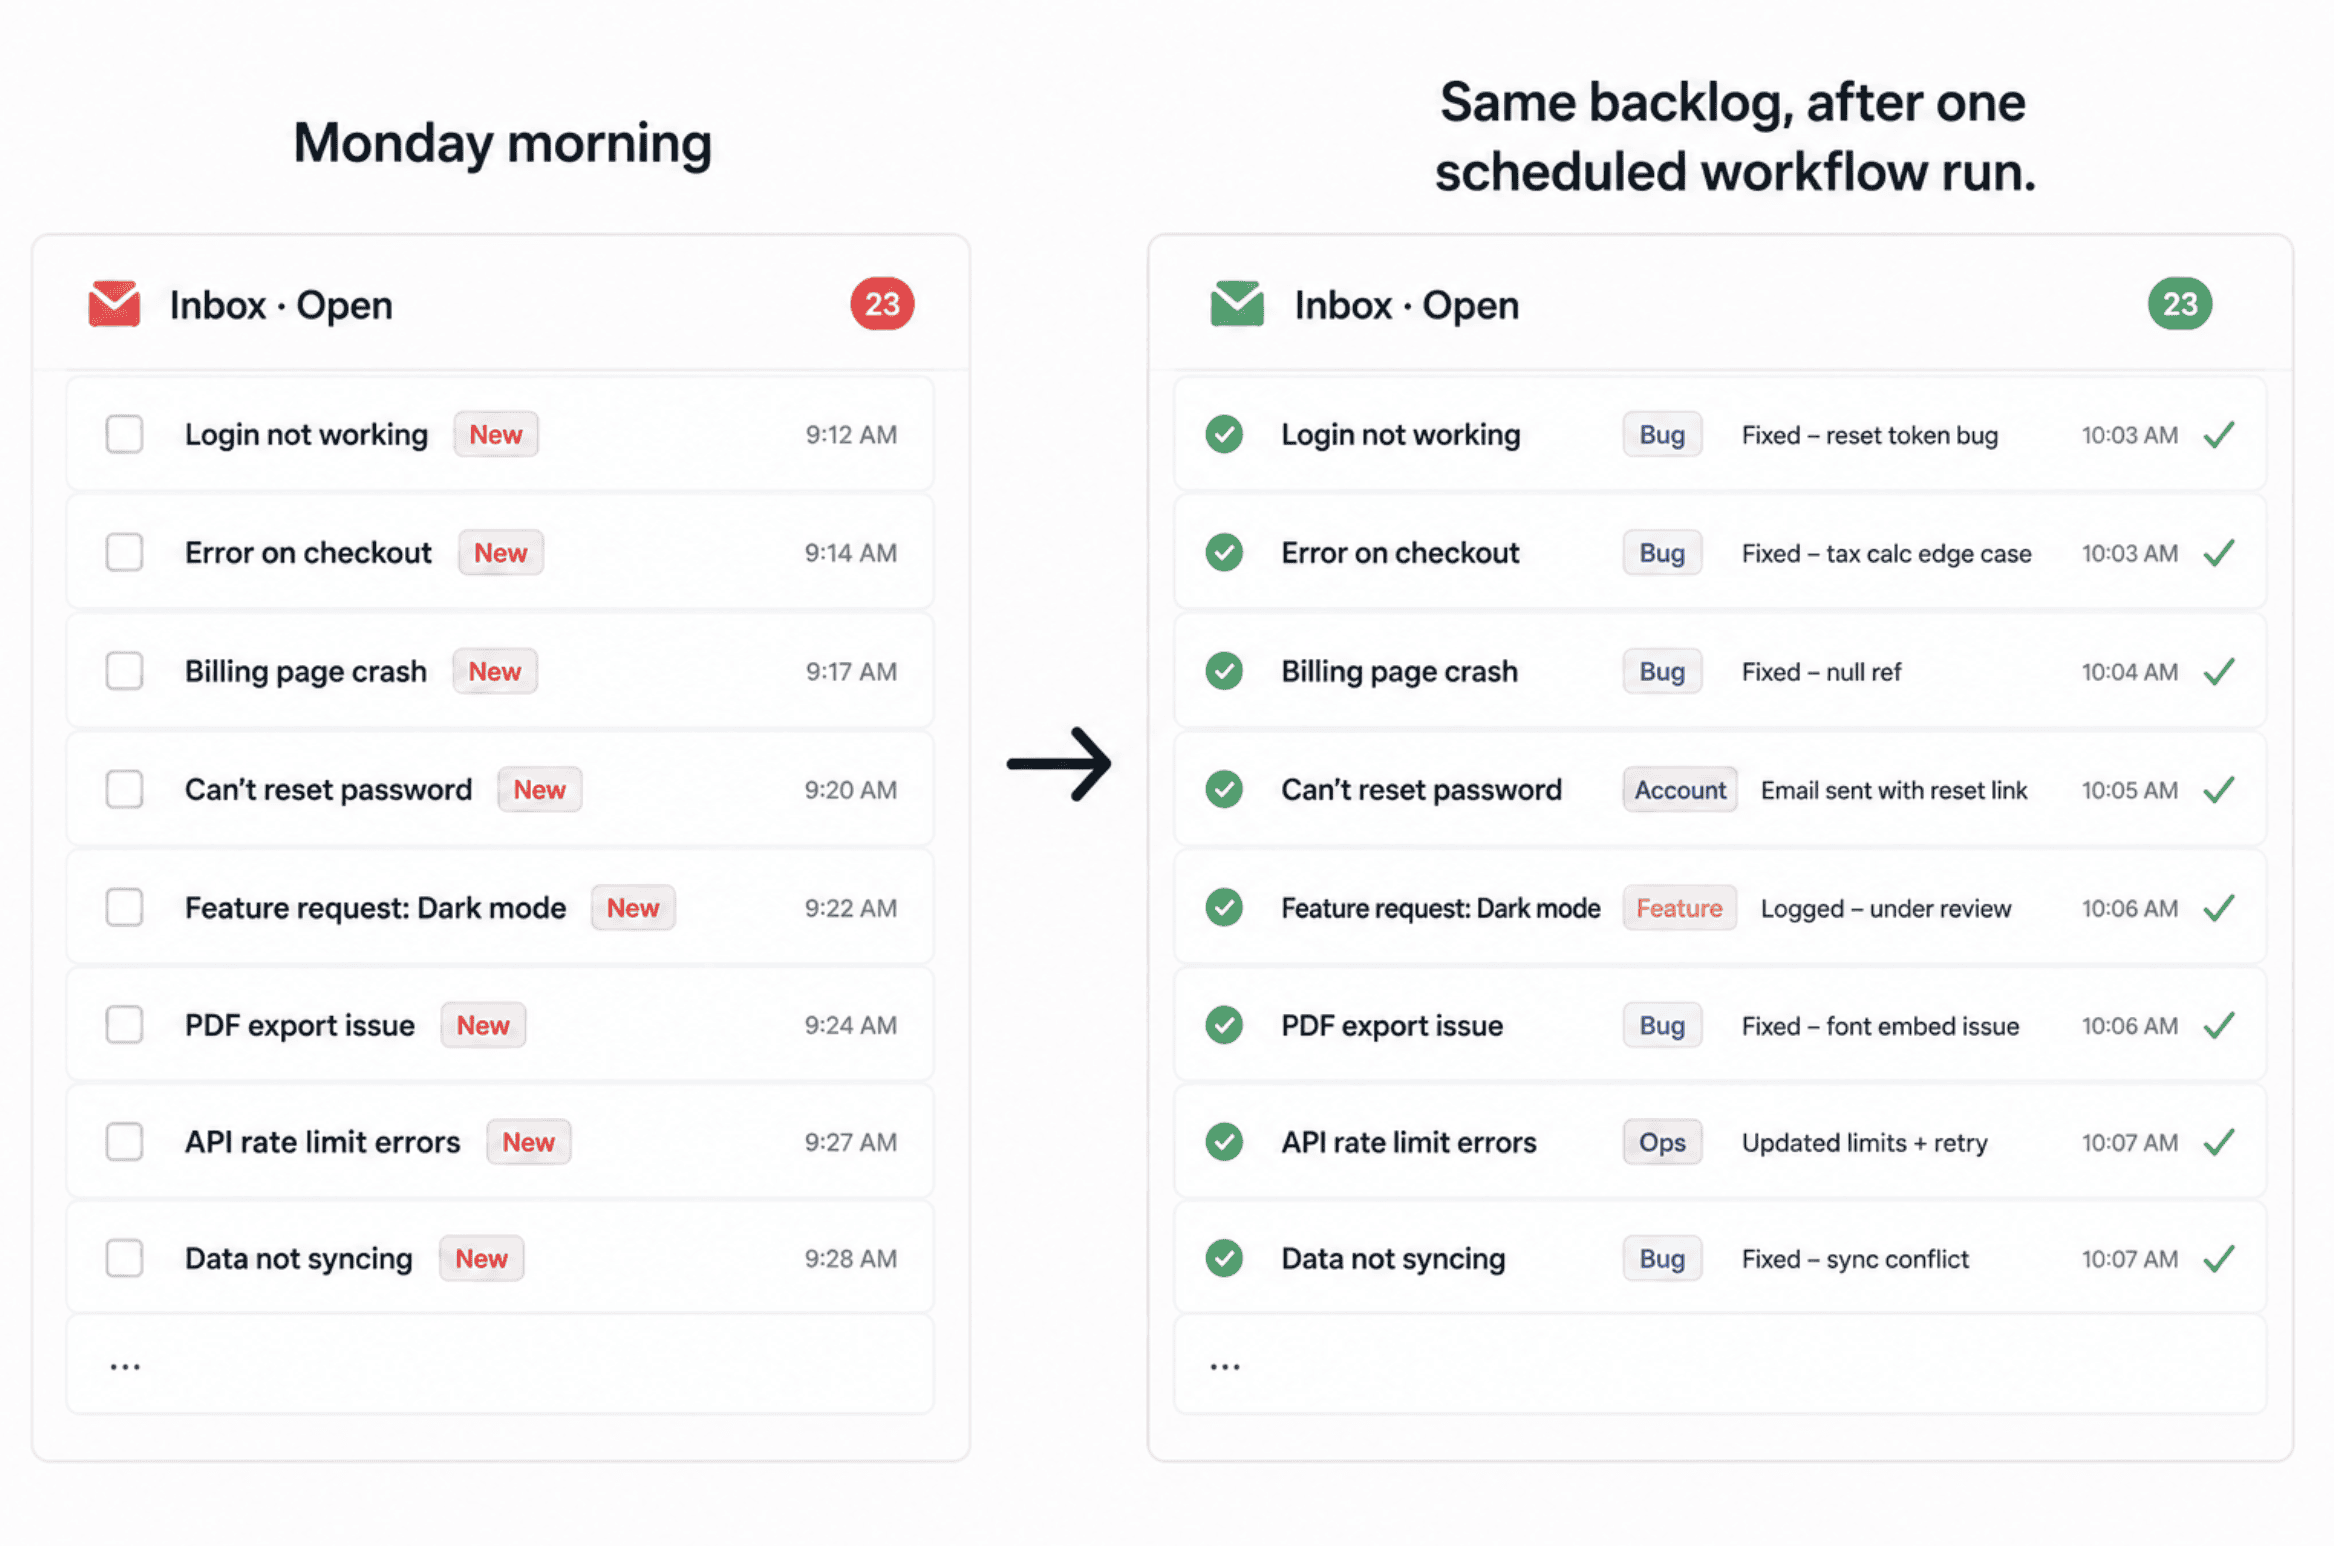
It’s 9 AM on a Monday, and forty-three new issues are sitting in the backlog. Some are real bugs. Some are duplicate feature requests. A couple are just someone venting about a typo. Whoever is on triage duty this week is going to spend the first two hours of their day reading, labelling, and replying to all of them before they can touch anything they actually planned to build.
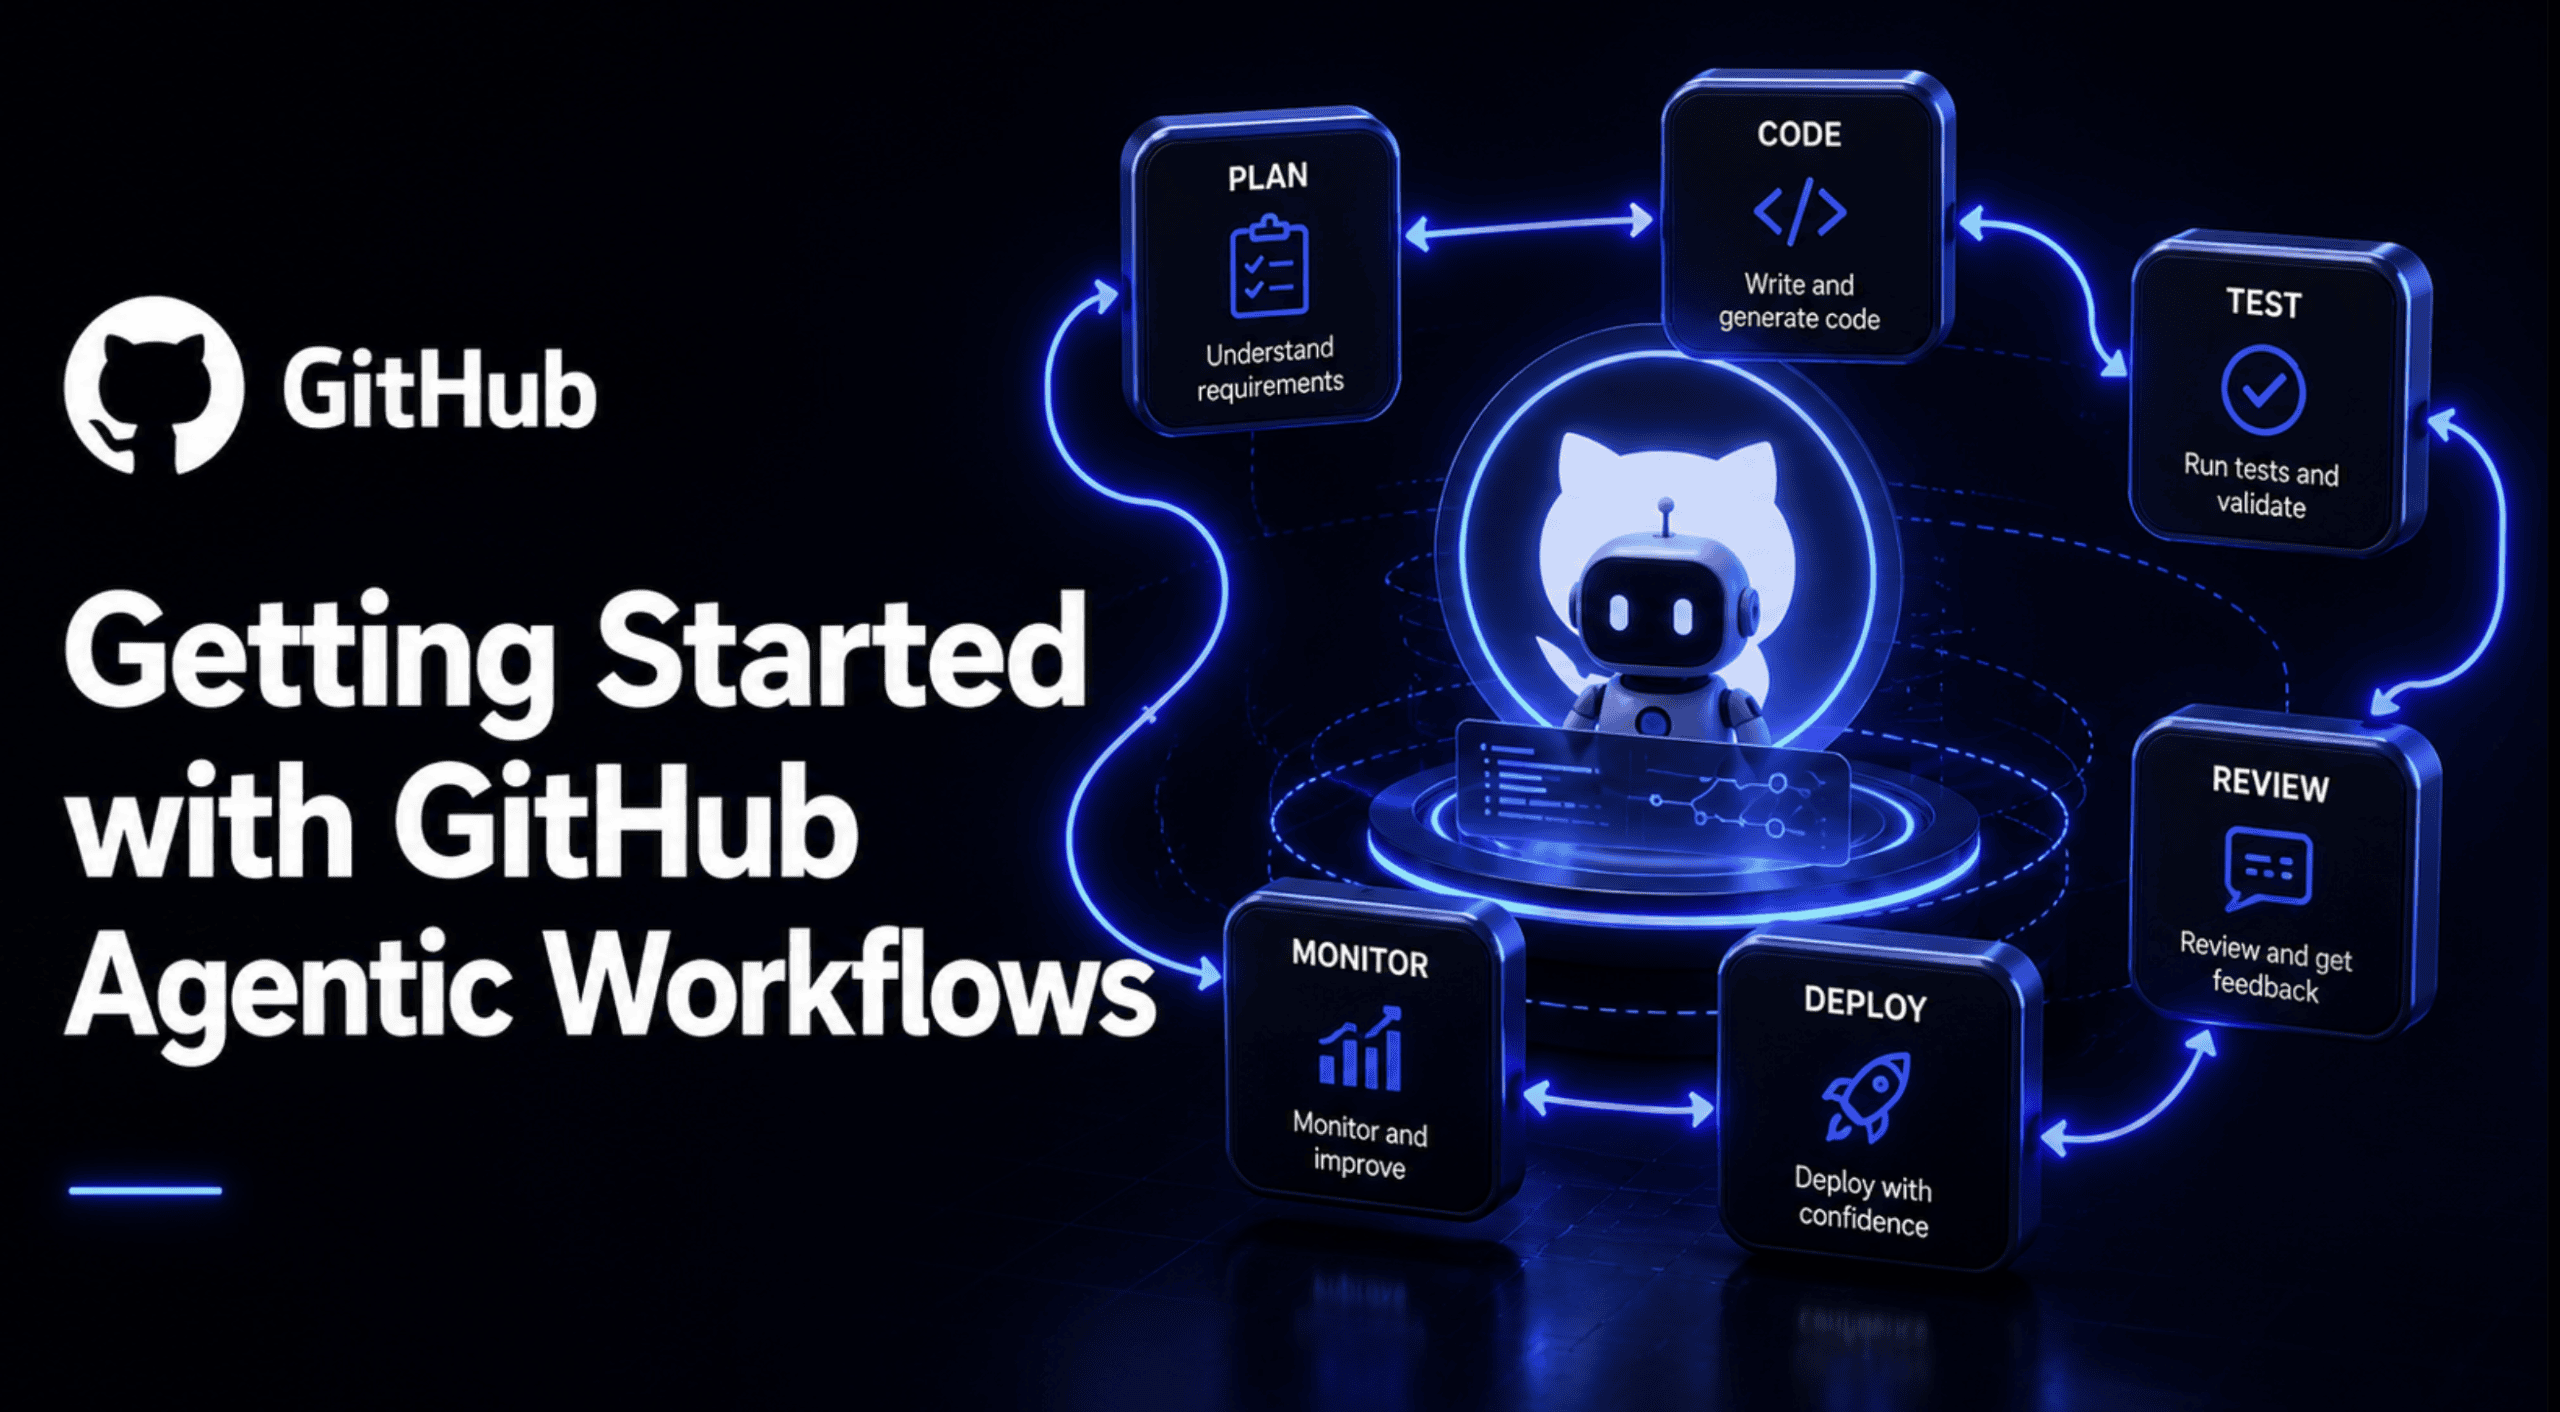
That’s the exact kind of work GitHub built Agentic Workflows to take off your plate. On June 11, 2026, GitHub moved Agentic Workflows into public preview, giving every repository the ability to run coding agents inside GitHub Actions to handle exactly this kind of reasoning-heavy, repetitive work. Not code completion. Not a chat sidebar. A scheduled or event-triggered agent that reads an issue, a pull request, or a week’s worth of commits, and does something useful with what it finds.
This article walks through what the feature actually is, why the security model matters more than the pitch-deck version of it, and how to write, compile, and run your first workflow today. By the end, you’ll have a working triage workflow of your own and a clear sense of what’s still a bit rough around the edges.
# What Are GitHub Agentic Workflows?
Strip away the marketing language, and the idea is fairly simple. You write a Markdown file that lives in .github/workflows/. The top of that file has a small block of YAML frontmatter describing when the workflow runs, what it’s allowed to touch, and which AI engine powers it. Below the frontmatter, you write plain-English instructions describing what you want the agent to do.
A command-line interface (CLI) tool called gh-aw reads that Markdown file and compiles it into a .lock.yml file, which is a completely ordinary GitHub Actions workflow. That’s the part worth sitting with for a second: there is no separate agent runtime bolted onto your repository. It reuses your existing runners, your existing branch protection rules, and your existing policy constraints, because underneath the natural language, it’s just Actions.
The project is built by GitHub Next and Microsoft Research, and it currently supports four AI engines out of the box: GitHub Copilot, Anthropic’s Claude, OpenAI Codex, and Google Gemini, with the option to plug in a custom processor if none of those fit. Copilot is the default engine, and if your organization already pays for a Copilot plan, workflow runs can bill directly to that organization instead of requiring you to manage a separate API key.
It also sits inside a bigger idea GitHub calls Continuous AI, which is really just the practice of applying AI systematically across the software lifecycle instead of one prompt at a time. Agentic Workflows is the mechanism for doing that on a schedule or in response to repository events, rather than only when a person happens to be sitting at their keyboard asking Copilot a question.
It’s also worth being clear about what this is not. It isn’t the same thing as Copilot’s cloud coding agent, which you kick off manually from an issue or a pull request when you want an agent to implement something specific for you right now. Agentic Workflows is closer to a standing policy: “every Monday, summarize the week’s issue activity” or “every time a PR opens, review it for security concerns.” One is a task you hand off. The other is a habit you build into the repository itself.
# Why This Is Worth Paying Attention To
GitHub doesn’t typically publish adoption numbers this early in a preview, so the fact that they attached named customer quotes to the launch says something about how far along the internal testing already was.
Carvana told GitHub the flexibility and built-in controls gave their engineering team enough confidence to run agentic workflows across genuinely complex systems, including changes that touch more than one repository at a time, according to the official changelog. Marks & Spencer described a similar story from a different angle: their developers were losing real sprint hours to the boring stuff — issue triage, dependency maintenance, vulnerability remediation, and routine review — and building a shared catalogue of reusable agentic workflows let teams pick up that automation across any repository without reinventing it each time.
Hud.io made a point that’s easy to miss if you’re only skimming the feature list: getting an agent to open a pull request was never the hard part of this. Trusting the output enough to actually merge it is. That’s really the whole thesis behind the security design covered in the next section.
Here’s the shape of the feature as it stands today, pulled directly from GitHub’s own numbers page:
| Metric | Value |
|---|---|
| Supported AI engines | 4 built-in (Copilot, Claude, Codex, Gemini), plus custom engine support |
| Security layers | 5 (read-only token, zero secrets, network firewall, safe outputs, threat detection) |
| Documented design patterns | 18+ (IssueOps, ChatOps, DailyOps, BatchOps, and more) |
| Supported GitHub event triggers | 10+ (issues, pull_request, push, schedule, discussion, label, and others) |
| Safe output types | 8+ (create-issue, create-pull-request, add-comment, add-label, and others) |
| Installation | One command: gh extension install github/gh-aw |
# The Security Model Is the Real Story Here
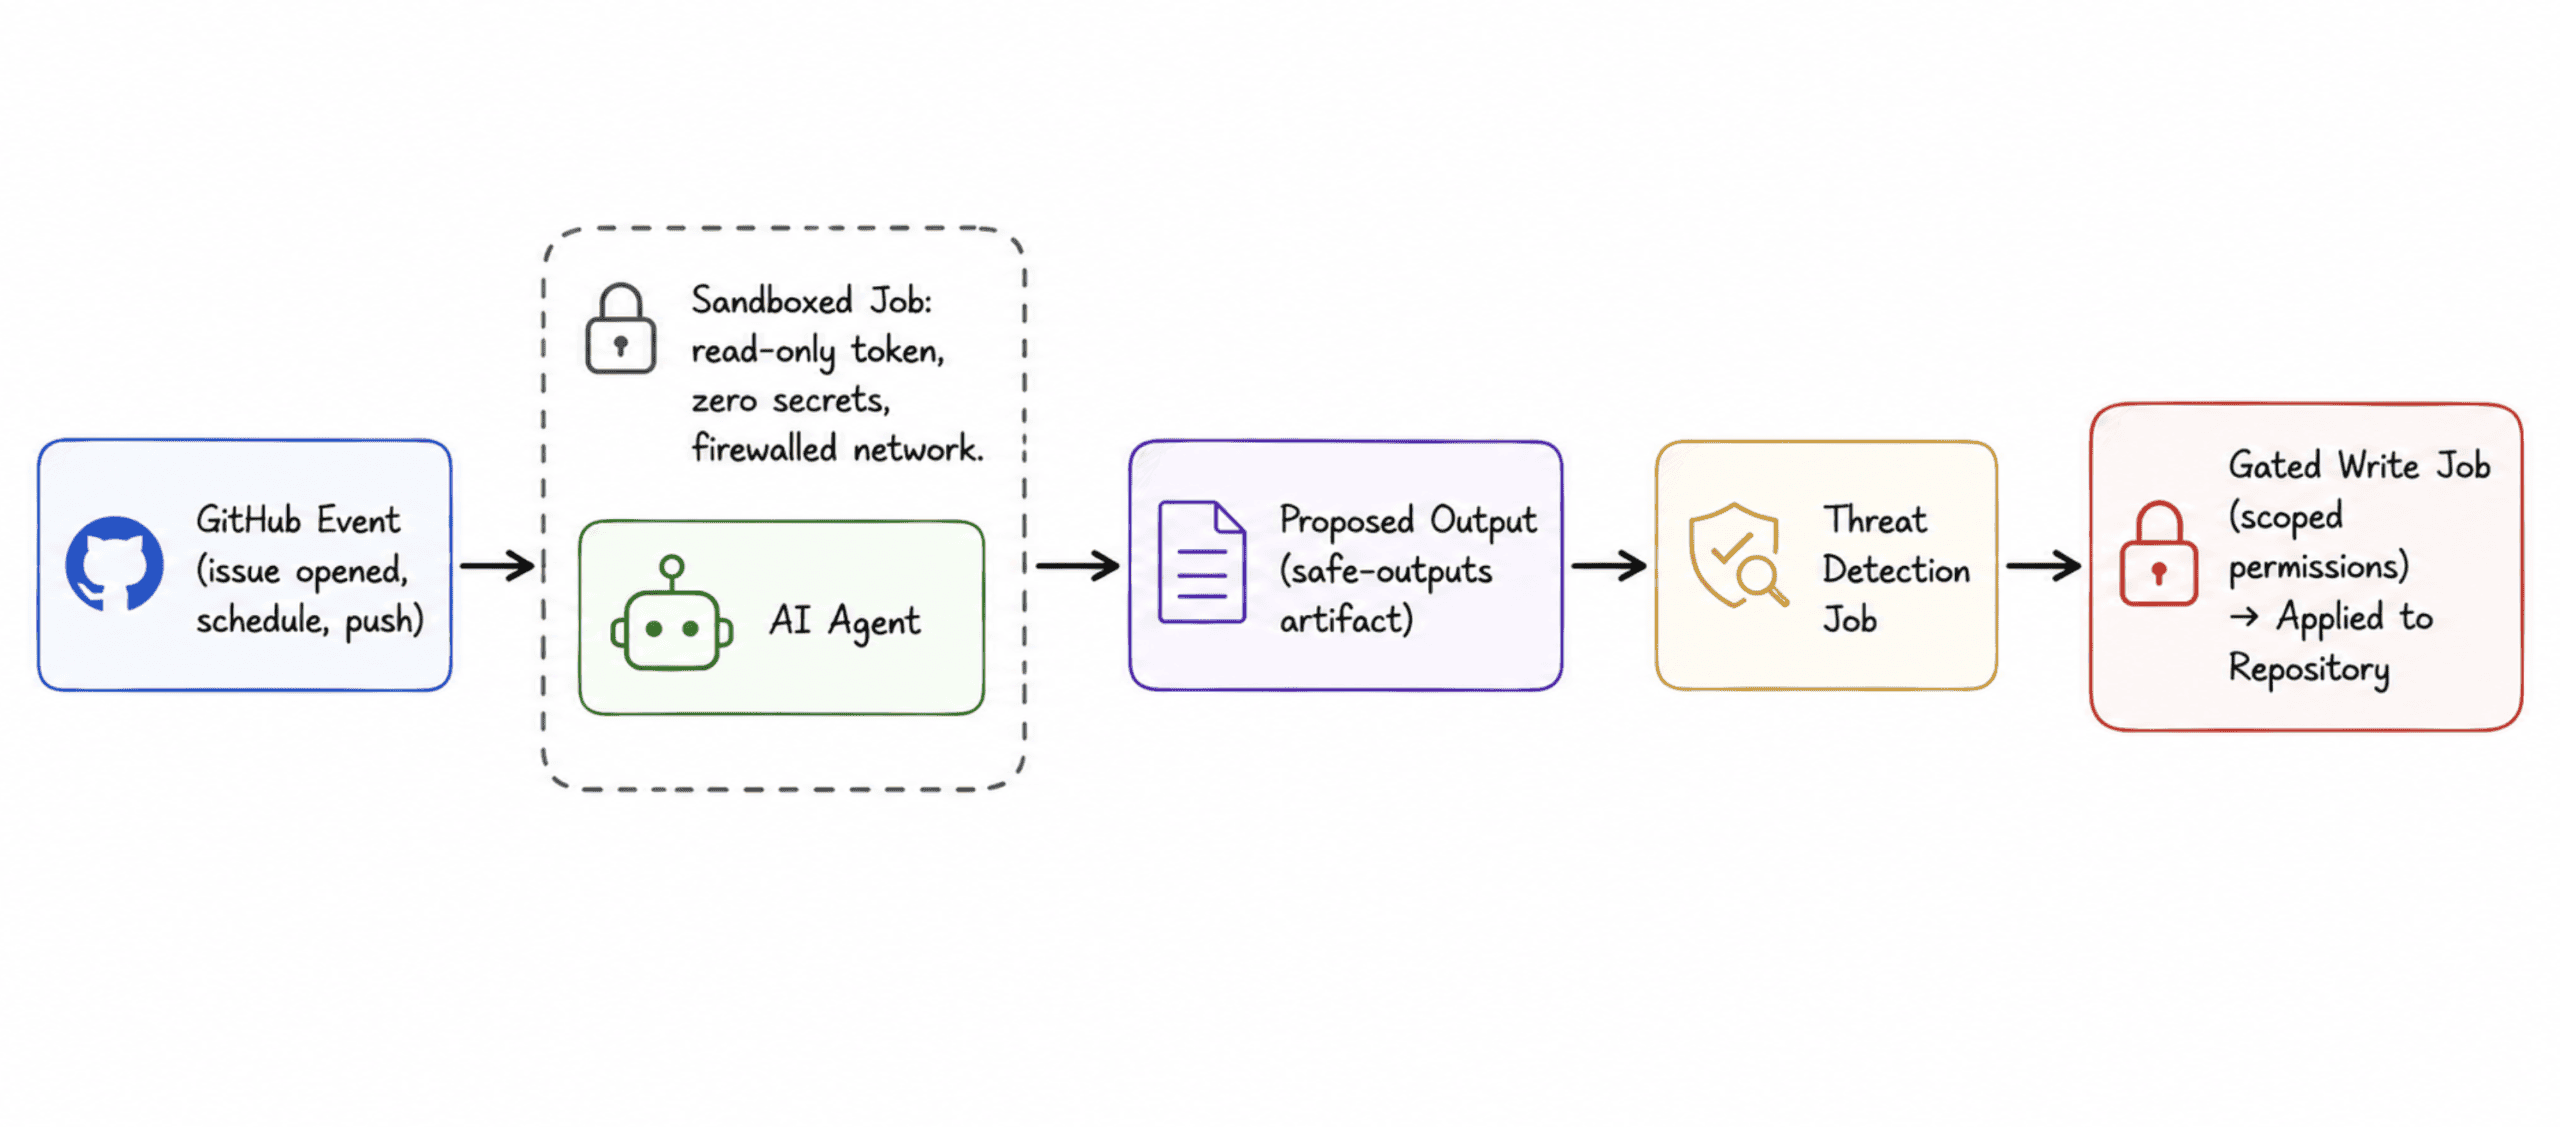
Most “AI does your DevOps now” pitches skip straight past the obvious question: what happens when the agent gets it wrong, or worse, gets manipulated by something hostile sitting inside an issue comment or a file in the repo. Prompt injection through repository content is a known risk with any agent that reads untrusted text, and GitHub built five layers specifically to contain that, rather than pretend it can’t happen.
- Read-only tokens: The agent’s GitHub token is scoped to read-only access by default. If it tries to push code, open a PR, or delete a file directly, the token itself doesn’t allow it, regardless of what the agent decides to attempt.
- Zero secrets in the agent process: The process actually running the AI model never receives write tokens, API keys, or credentials of any kind. Those live only in a separate job that runs after the agent has already finished and its proposed output has been checked. If the agent is compromised mid-run, there’s nothing in its reach worth stealing.
- A sandboxed container behind a network firewall: The agent executes inside an isolated container, and all outbound traffic is routed through what GitHub calls the Agent Workflow Firewall, a Squid proxy enforcing an explicit allowlist of domains. Anything outside that allowlist gets dropped at the kernel level, so a compromised agent has no path to quietly phone home with your data.
- Safe outputs: This is the part worth understanding properly, because it’s the mechanism that makes the rest of the model work in practice. The agent can’t write to your repository directly at all. Instead, it produces a structured description of what it wants to do — something like “open an issue with this title and this body.” A separate job with narrowly scoped write permissions reads that request and applies only what you’ve explicitly allowed in the workflow’s frontmatter: a hard cap of one issue per run, a required title prefix, specific label restrictions, whatever you decide. The agent proposes. A gated, deterministic job disposes.
- Agentic threat detection: Before any of that output actually lands in your repo, a dedicated threat-detection job runs its own AI-powered scan across the proposed changes, checking for injection attempts, leaked credentials, or suspicious code patterns. If something looks wrong, the whole run fails, and nothing gets written.
Put together, the agent can read almost anything in your repository, but it can only ever act through a narrow, auditable contract you define yourself. That’s a meaningfully different trust model from installing a third-party GitHub Action and granting it broad write permissions on faith.
# What You Need Before You Start
You don’t need much to get going, but each of these matters:
An account with one of the supported AI engines: GitHub Copilot, Anthropic Claude, OpenAI Codex, or Google Gemini. A GitHub repository where you have write access. GitHub Actions must be enabled on that repository. And the GitHub CLI, version 2.0.0 or later, must already be authenticated on your machine.
Check your CLI version with gh --version, and if you need to authenticate, run:
# Logs your local gh CLI into GitHub with the two scopes
# agentic workflows need: repo access and workflow write access
gh auth login --scopes repo,workflow
Once that’s done, install the extension that does the actual Markdown-to-YAML compilation:
# Installs the gh-aw extension into your existing GitHub CLI
gh extension install github/gh-aw
If you’re already on GitHub CLI 2.90.0 or newer, running any gh aw command will offer to install this automatically the first time you use it, so you won’t hit a missing-extension error out of nowhere.
# Setting Up Authentication
This is the one step that trips up almost everyone the first time, so it’s worth slowing down here.
If you’re using GitHub Copilot inside a repository owned by an organization with a Copilot plan, you want the built-in GITHUB_TOKEN approach. It bills usage straight to your organization and means nobody has to babysit a personal access token (PAT) as a repo secret. Your organization admin needs to enable “Allow use of Copilot CLI billed to the organization” under Copilot policy settings first. Once that’s on, all you need in your workflow frontmatter is:
permissions:
  contents: read
  copilot-requests: write   # routes Copilot billing through the org, not a personal token
This is a genuinely recent change worth calling out directly: as of the same June 11, 2026 release, GitHub Agentic Workflows no longer requires a PAT at all for this path. Earlier hands-on writeups from the technical preview period in February 2026 describe generating a fine-grained PAT with Copilot Requests permission and manually adding it as a COPILOT_GITHUB_TOKEN secret. That step still exists as an option for personal repositories or for third-party engines like Claude or Codex that need their own API key stored as a secret, but if you’re running Copilot inside an org-owned repo, you can skip the token dance entirely now.
For anything that does need a stored secret (personal repos, or Claude and Codex as your engine), you add it once through your repository’s Actions secrets, either in the GitHub UI or with gh aw secrets set from the CLI.
# Writing Your First Workflow
Let’s build something you’d actually want running in a real repository: an agent that triages new issues the moment they’re opened, classifies them, labels them, and posts a short, useful response.
You could write this file by hand, but a better first experience is to let a coding agent scaffold it for you. Run this once per repository to set that up:
# Adds skills, instructions, and a helper agent to this repo
# so any coding agent you use afterward understands how to
# author and edit agentic workflows correctly
gh aw init
Then, from inside your coding agent of choice (Copilot CLI or VS Code agent mode both work), you’d prompt something like: create a new workflow that triages newly opened issues, classifies them by type and priority, applies labels, and posts an acknowledgement comment. The agent handles the file creation and the first compile pass for you.
But it helps to actually read and understand the file it produces, so here’s a hand-written version you can drop straight into .github/workflows/issue-triage.md:
---
description: Classify new issues, apply labels, and post a short response
on:
  issues:
    types: [opened]        # only fires when a brand-new issue is created

permissions:
  contents: read            # agent can read repo files for context
  issues: read               # agent can read the issue itself

network: defaults            # outbound traffic limited to the default allowlist

tools:
  github:
    toolsets: [issues]       # only issue-related GitHub tools are exposed

safe-outputs:
  add-label:
    max: 3                   # never apply more than 3 labels in one run
  add-comment:
    max: 1                   # exactly one acknowledgment comment, never more
---

# Issue Triage Agent

When a new issue is opened, read its title, body, and any code
snippets included in it.

Classify the issue as one of: bug, feature request, question, or
documentation gap.

Assess priority as critical, high, medium, or low, based on how
much of the system the issue affects and whether it blocks other
users.

Apply labels that reflect both the type and the priority.

Post one short comment thanking the reporter, restating your
classification in plain language, and letting them know a
maintainer will follow up if it's high priority or above.

Keep the comment under four sentences. Don't speculate about a
fix. Just acknowledge and route.
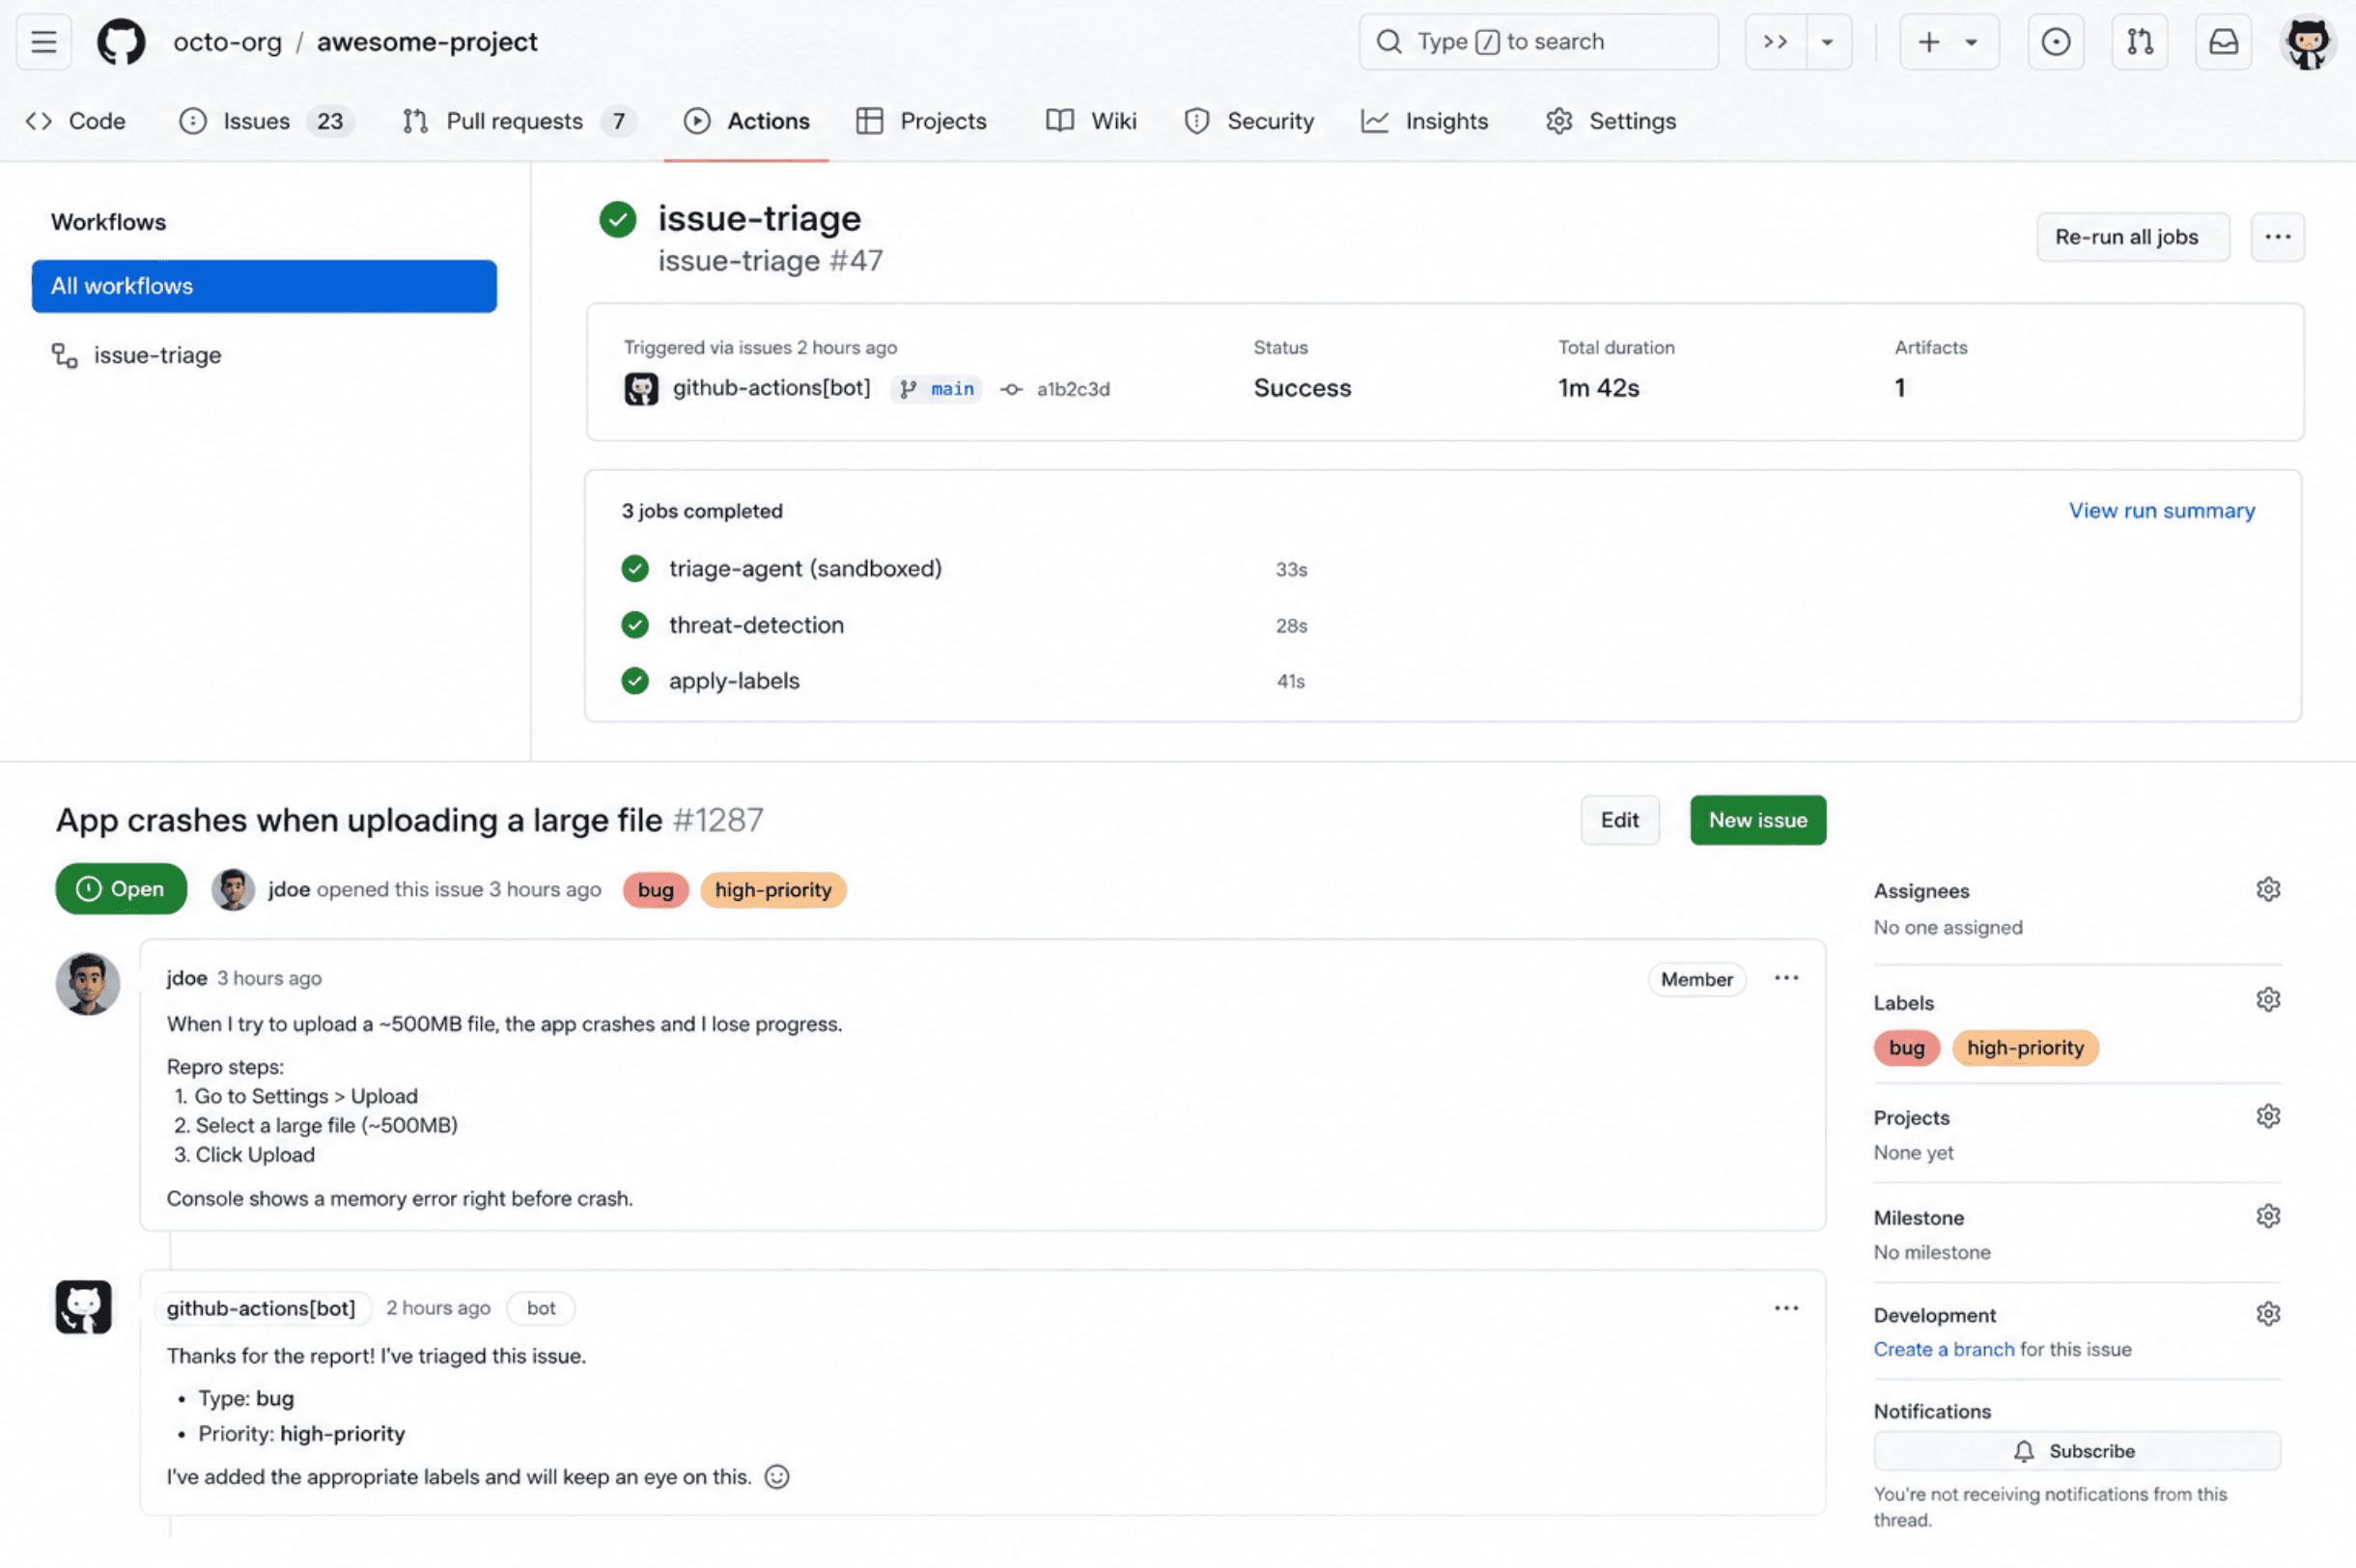
What this file is actually doing, line by line: The on block means this only runs when someone opens a new issue, not on edits or comments, which keeps running cheap and predictable. The permissions block is deliberately narrow — read-only on both repo contents and issues — because the agent’s job here is to observe and classify, not to modify anything directly. network: defaults keeps outbound calls restricted to GitHub’s standard allowlist rather than opening the container up to the wider internet. The tools block scopes down which GitHub API surface the agent even has access to, so it can’t, say, start browsing pull requests when all it needs is issue data. And the safe-outputs block is the actual trust boundary discussed earlier in this article: the agent can suggest up to three labels and exactly one comment, and nothing else, no matter what it decides mid-run would be a good idea.
Once the file is saved, compile it:
# Reads the Markdown file and generates the real GitHub Actions
# YAML (issue-triage.lock.yml) that Actions will actually run
gh aw compile
Commit both the .md file and the generated .lock.yml file together. Yes, both files go into version control. The Markdown is your source of truth, and the lock file is what Actions executes — similar in spirit to how a package lock file sits alongside a manifest.
Push, open a test issue, and watch the Actions tab. Or trigger it manually without waiting for a real issue:
# Manually kicks off a workflow run by name, useful for testing
# before you rely on the real event trigger
gh aw run issue-triage
# Understanding Every Field in the Frontmatter
The example above only used a handful of fields, but it helps to know the full shape of what’s available before you start writing your own workflows from scratch.
| Field | What It Controls |
|---|---|
on |
The event that triggers the workflow, using the same syntax as standard GitHub Actions triggers (issues, pull_request, schedule, push, and more) |
permissions |
The repository permissions granted to the agent itself; defaults to read-all if you don’t set it |
safe-outputs |
The specific write operations the agent is allowed to request, each with its own limits (create-issue, add-comment, create-pull-request, add-label, and others) |
engine |
Which AI engine runs the workflow; copilot is the default, with claude, codex, and gemini also supported |
tools |
Which categories of GitHub API access the agent can see at all, scoped down from the full permission set |
network |
Controls outbound network access from inside the sandboxed container |
The full reference lives on the gh-aw frontmatter documentation, and it’s worth bookmarking once you start writing workflows that go beyond a single trigger.
# Common Patterns Worth Knowing
GitHub documents more than eighteen recurring design patterns for these workflows, and most real usage clusters around a handful of them.
- IssueOps is exactly what the triage example above demonstrates: an agent that reacts to issue events and manages the lifecycle of individual issues.
- DailyOps or WeeklyOps patterns run on a schedule rather than an event, producing digests, reports, or health checks. GitHub’s own documentation example for this is a weekly issue activity report: an agent that reviews the last seven days of issue activity and opens a single summary issue covering totals, recurring themes, and a short list of items that still need attention, using nothing more than a
scheduletrigger and acreate-issuesafe output capped at one per run. - ChatOps patterns respond to comments or mentions, letting a maintainer type something like
"@bot summarize this thread"directly into an issue or PR and get a structured response back. - BatchOps patterns process many items at once on a schedule — things like scanning every open dependency-update PR for merge conflicts, or flagging stale issues across an entire repository in a single pass.
You don’t need to memorize the full taxonomy. What matters is recognizing that almost anything you’d want automated fits one of these shapes, and starting from an existing pattern is much faster than designing your own from a blank page.
# Reusing Workflows Instead of Writing Your Own
You don’t have to start from zero every time. GitHub Next maintains a public catalogue called agentics with ready-made workflows covering triage, compliance checks, reporting, and more. You can pull one directly into your repository:
# Imports a pre-built workflow from GitHub Next's public catalogue
# and walks you through configuring it interactively
gh aw add-wizard githubnext/agentics/daily-repo-status
For a non-interactive setup, gh aw add works the same way and lets you pin a specific version. When you import a workflow this way, the CLI records a source: value in the frontmatter, which is how gh aw update later knows where to pull upstream changes from.
Two things worth being careful about here. First, only import workflows from sources you actually trust and have reviewed, since you’re effectively giving an AI agent a defined but real slice of access to your repository based on someone else’s instructions. Second, workflows marked private: true in their source repo can’t be imported elsewhere at all, so don’t expect every internal team’s workflow catalogue to be reusable outside its own org.
# What’s Genuinely Still Rough
It would be dishonest to write a getting-started guide for a public preview feature and pretend everything is polished. A few things are worth knowing going in, based on real hands-on accounts from developers who’ve actually run this in production-adjacent repos, including a detailed write-up from developer Hector Flores documenting four workflows he built and ran.
Debugging is still opaque in places. When an agent makes a classification you didn’t expect, your only real window into why is standard GitHub Actions logs, not a structured reasoning trace explaining the decision. That’s workable for now, but it’s the first thing power users ask for.
There’s no real-time cost visibility per workflow run. Each execution consumes AI tokens against your engine’s billing, and while you can check overall usage after the fact, there’s no per-workflow estimate to help a team set a budget before turning something on across dozens of repositories.
The .lock.yml compilation step feels like scaffolding rather than a permanent part of the design. It works reliably, but the two-file pattern (Markdown source plus generated lock file) reads like something that will eventually get absorbed directly into the platform, where you push a .md file and GitHub compiles it natively without a separate CLI step.
None of that should stop you from trying it. It should just set your expectations correctly: this is a fast-moving public preview, not a finished product, and the parts of it that will matter most in a year — the safe-outputs contract and the layered security model — are already the strongest part of what exists today.
# Where This Fits Next to Other Copilot Tools
It’s easy to conflate this with other things GitHub already ships under the Copilot name, so here’s a quick side-by-side to keep them straight.
| — | GitHub Agentic Workflows | Copilot Cloud Coding Agent | A Traditional Custom Action |
|---|---|---|---|
| How it’s triggered | Repository events or a schedule, fully autonomous | Manually assigned to a task by a person | Repository events, fully autonomous |
| What it’s defined in | Markdown with YAML frontmatter | A prompt or assigned issue | Hand-written YAML plus custom scripts |
| Default access | Read-only, write-only through safe outputs | Scoped to the specific task assigned | Whatever permissions you grant, often broad |
| Best suited for | Recurring, reasoning-based repo maintenance | One-off implementation or investigation tasks | Deterministic, rule-based automation |
None of these three replace each other. A healthy setup usually runs all three at once: custom Actions for deterministic checks like linting and tests, the cloud coding agent for when you want to hand off a specific feature, and Agentic Workflows for the recurring judgment calls that don’t fit a fixed rule but also don’t need a person to kick them off every time.
# Closing Thoughts
The most useful way to think about GitHub Agentic Workflows isn’t “AI writes my YAML now.” It’s that you can finally encode judgment calls into automation instead of only rules. A traditional Action can enforce “every PR touching src/auth/ needs a security review.” An agentic workflow can act on “flag anything that looks security-sensitive and route it appropriately” — which is a genuinely different and harder problem that used to require a person paying attention every single time.
If you’re trying this for the first time, start with issue triage. It’s the simplest pattern; the safe-outputs contract is easy to reason about with only a comment and a label at stake, and you’ll see it work or fail within minutes of opening a test issue. Once that clicks, the jump to scheduled reports, PR review, and documentation upkeep is a much smaller leap than it looks like from the outside.
Read through the official quickstart guide for the most current setup steps, and if you build something worth sharing back, the community discussion is where GitHub is actively collecting feedback while the feature is still in preview.
Shittu Olumide is a software engineer and technical writer passionate about leveraging cutting-edge technologies to craft compelling narratives, with a keen eye for detail and a knack for simplifying complex concepts. You can also find Shittu on Twitter.